Tuesday, August 28, 2012

Seams like Taping. With Fiberglass.

It's a beautiful hull.  Once we finished the tabbing, we were able to remove the stitches (that was the painful part, by the way), and fill in the gaps with epoxy.  After that it was a sanding game - the word for this is "fairing the hull." Making it beautiful.  Making the lines 'fair' so that the boat will move easily through the water.
The seam taping involves some 4-in strips of fiberglass tape.  To tape the seam, you first need to round it (sanding) and smooth it, then lay the tape carefully and soak it with epoxy to cement it to the wood.

You can see a photo of the transom, all taped up, and Jay (that's my Dad) finishing up the taping of the starboard joint.

Where to next?  We have to apply more peanut butter (less thick, more Jif and less Adams) to smooth out the junction between the fiberglass tape and the rest of the hull.  Then we can sheathe the hull completely in fiberglass.

Tabbing the hull

This might hurt a bit -- if you're a boat.  At least, I think it would hurt.  :)

We start with Frankenboat...
Then we mix up some delicious peanut butter... that's thickened epoxy.


Then you duck underneath the hull and paint epoxy into the seams between the stitches.  You have to make it thick or it drips down once you paint it in there.  And sometimes it still drips.  

Look out!  Epoxy + skin is an unfortunate combination.  The last photo is from the cockpit area, between the cabin and the stern.  At the right side of the picture, you're looking at the transom, which is the back of the boat.


Saturday, June 23, 2012

Frankenboat

It's been a while since we had time to look at the boat, although we did occasionally go out to re-measure, scratch our heads and mutter about whether our little mess-ups were going to be molehills or mountains. But, today we got some real work done and have new pictures to show for it!


This shows the stitching process. Basically, short pieces of baling wire are stuck through pre-drilled holes, and are twisted around from the outside. With enough ties, it holds the panels together well - at least until you start the epoxy/fiberglass process.


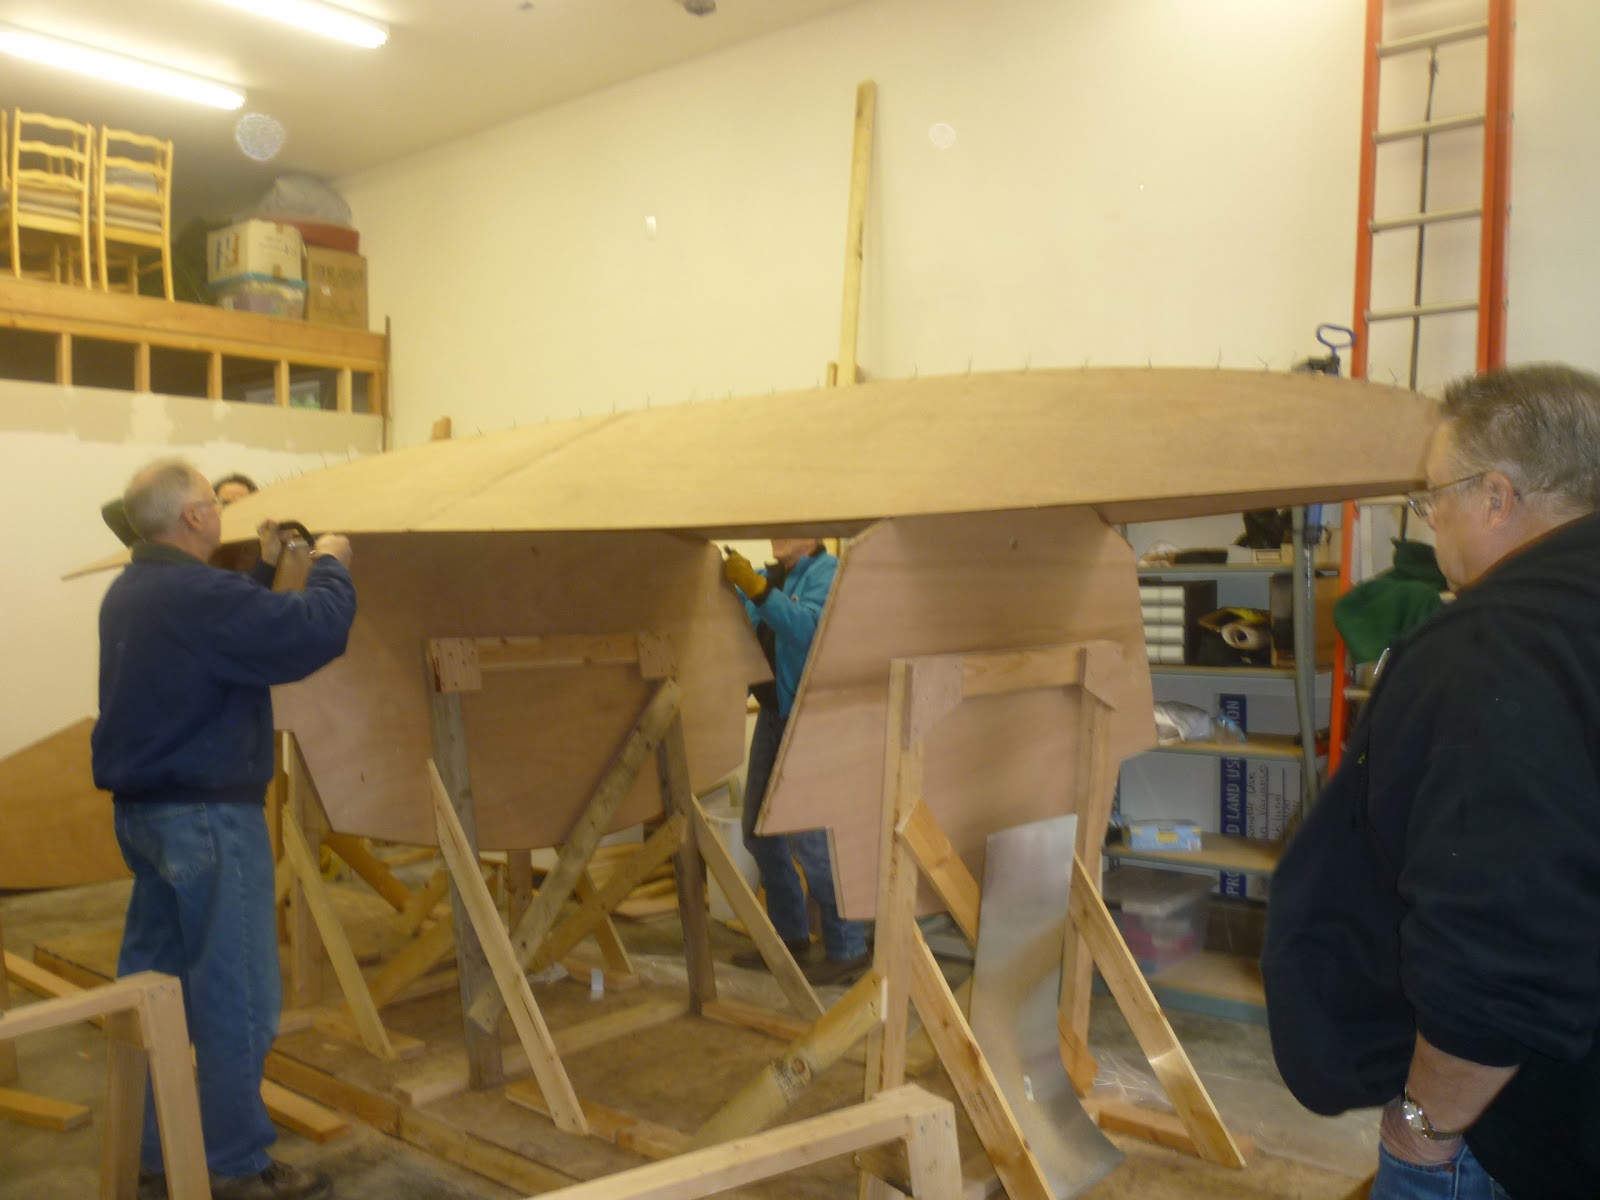
See how pleased I look? Notice that I took the pictures at the END of the process. :)


You can see Dad (foreground) and friend Chuck finishing off the stitches on the port side. Big thanks to Chuck for coming to help hold the panels in place while we stitched.


This last photo is the one I think deserves the name "Frankenboat" and no, that will not be the name of our boat! The stitches come out. Next task? Figure out how the heck to pull those panels together to stitch them at the bow! Turns out that 1/2-inch marine plywood doesn't really like to bend. :)

Putting the Bottom on Top

I realize I skipped a big step of the progress.  I posted the side panel completion before I even showed the bottom panels.  So for completion's sake, and because I'm a perfectionist, let me fill in the gap... these were taken this past winter!  (I can tell it's winter because of my crazy long hair).  Many thanks to our friends for their strong, helping hands!